


Introduction
Google Colaboratory is good, but is there any way to quickly test Jupyter in a GCP environment? I found AI Platform Notebooks.
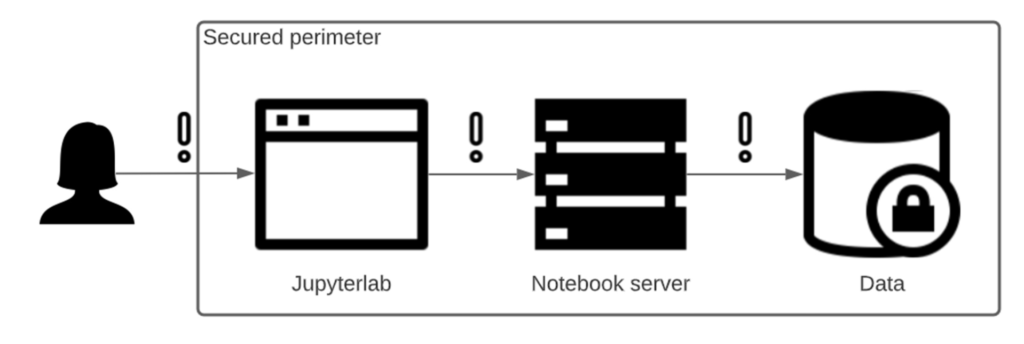
AI Platform Notebooks provides an integrated and secure JupyterLab environment for the enterprise. Enterprise data scientists use the AI Platform Notebooks to test, develop code, and deploy models. With just a few clicks, you can easily get started with notebooks that work with popular deep learning frameworks (TensorFlow Enterprise, PyTorch, RAPIDS, and many more). Currently, AI Platform Notebooks can be run on Deep Learning Virtual Machines or Deep Learning Containers.
https://cloud.google.com/blog/ja/products/identity-security/ai-platform-notebooks-security-blueprint
This article describes how to use the Jupyter lab in AI Platfrom Notebooks and how to add a new library in Anaconda.
Unlike Google Colaboratory, there is a monthly fee, but GCP has a free slot for the first 300$, so you may want to give it a try.
Create an instance of AI Platform Notebooks
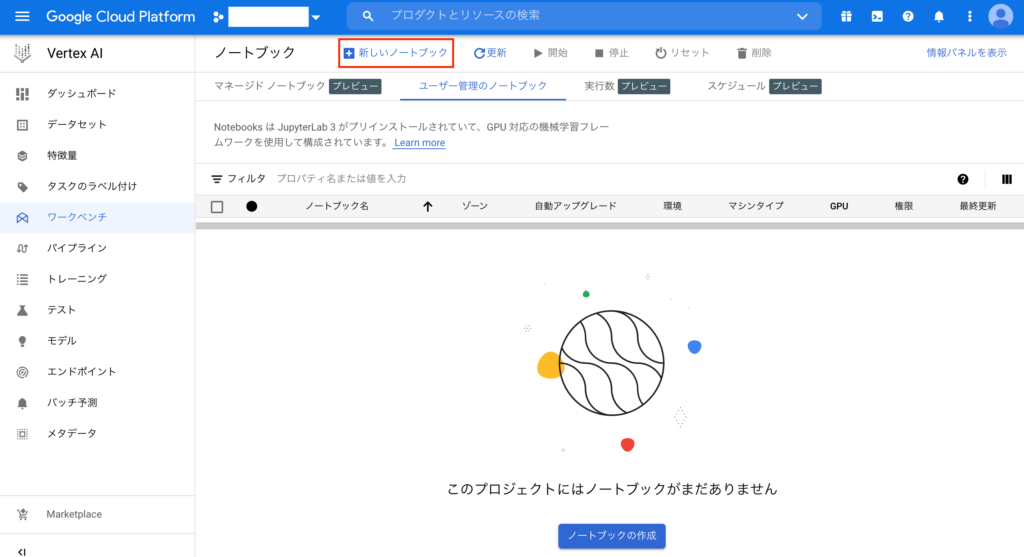
1. the following link will take you to the AI Platfrom Notebooks page
2. click “New Notebook” at the top of the screen to create an instance of AI Platform Notebooks.
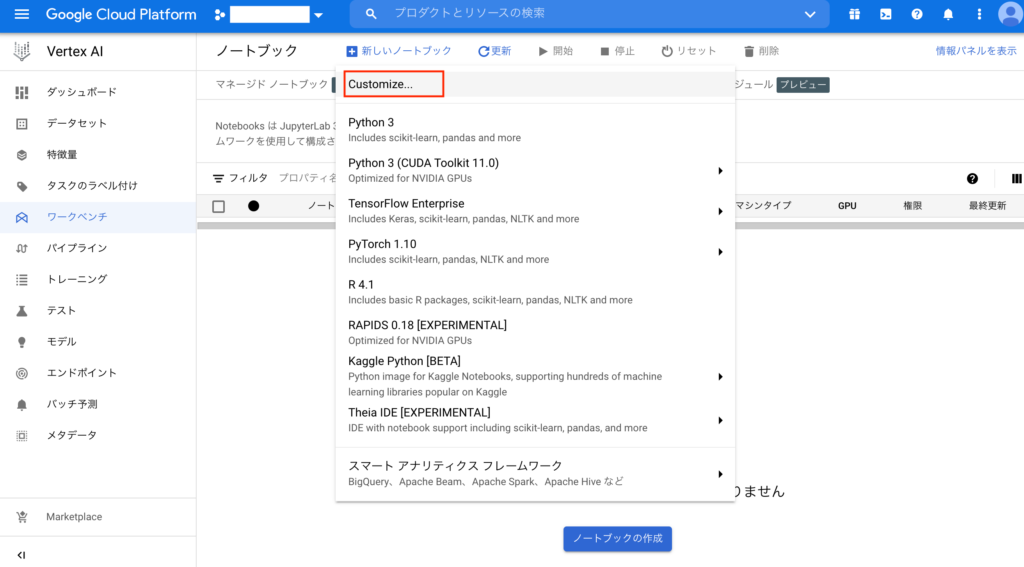
3. You can choose any instance environment you like. This time, select “Customize”.
4. the environment of the instance needs to be set up, so enter the appropriate settings. The notebook name is “sample”.
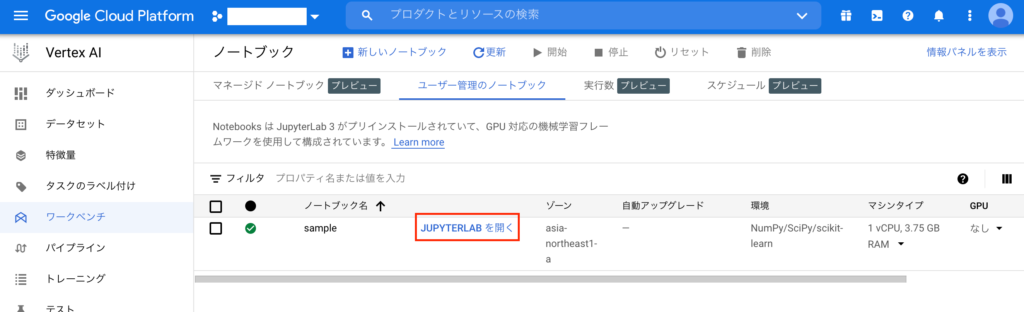
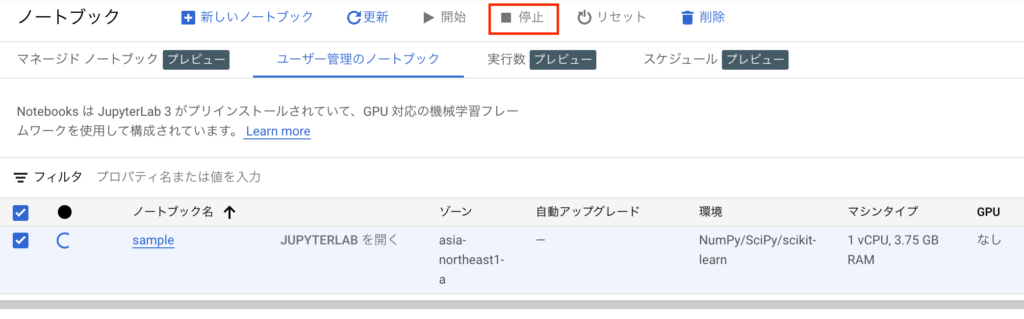
5. After entering the settings, an instance of AI Platform Notebooks will be created in a few moments. Click “Open JUPYTERLAB” to open Jupyter lab.
Add libraries with Anaconda
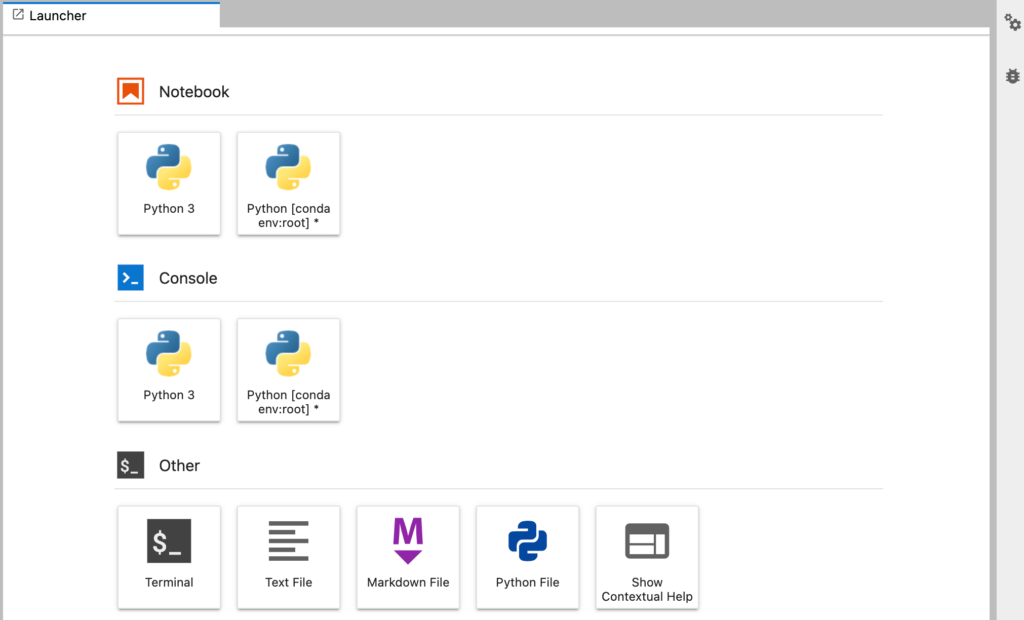
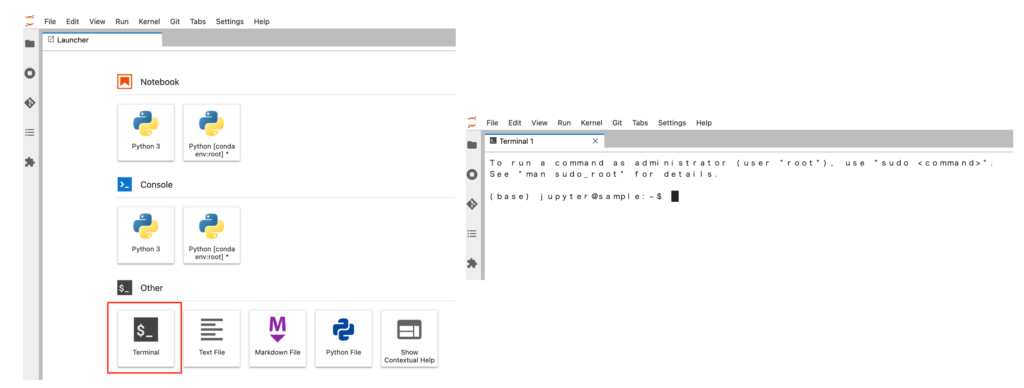
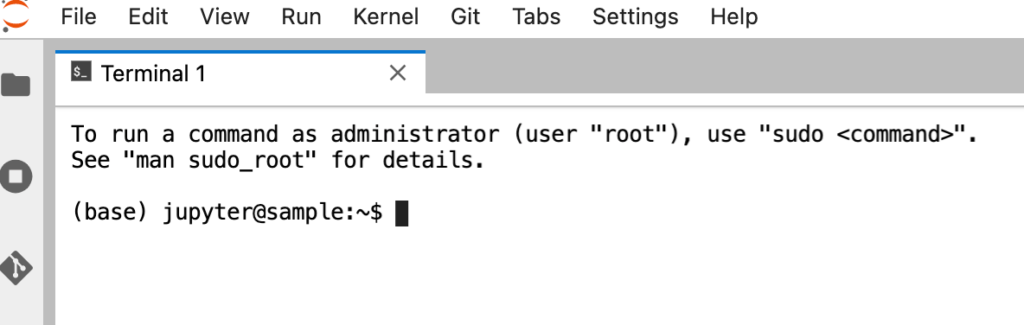
You can use Jupyter lab as is, but we want to manage the environment with Anaconda, so we start Terminal and create a virtual environment with Anaconda.
I didn’t like the font in Terminal, so I made some changes.
Open the Terminal settings file from “Settings → Advanced Settings Editor” at the top of the screen. Add the following to the right window and save the file.
{
    "fontFamily": "Menlo"
}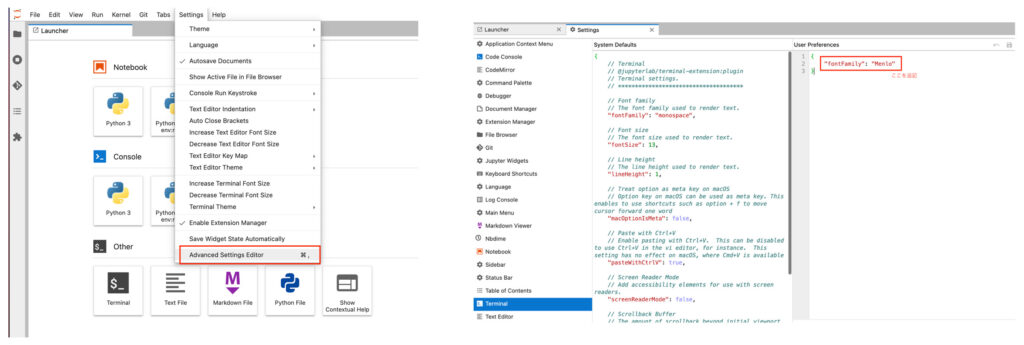
This completes the font change in Terminal.
Enter the following commands on the Terminal to create and activate the virtual environment. This time, name the environment “sample” and install python=3.9 series.
conda create -n sample pip python=3.9
conda activate sample
To use jupyter lab in the virtual environment you have created, you must pip install jupyterlab. This time, we will also install matplotlib, xgboost, and shap as additional libraries.
pip install jupyterlab
pip install matplotlib
pip install xgboost
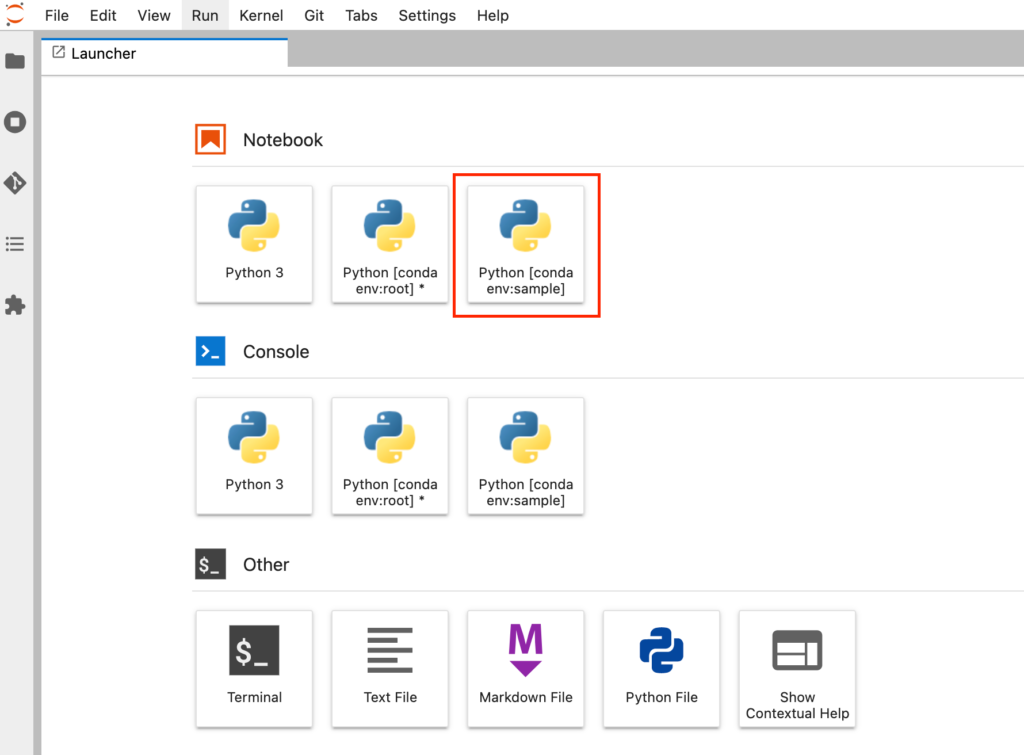
pip install shapAfter successful installation, you will see that the virtual environment created on the first screen has been added.
I can now do the analysis in the Jupyter lab in a controlled environment.